Maximise Your Gaming Performance: A Comprehensive Guide to PC Optimisation
- 2023-03-25 09:00
Are you ready to take your gaming to the next level? If so, then read on! Here’s a comprehensive guide detailing how to maximize your PC’s performance and get the most out of every gaming session.
1. Turn on the Gaming Mode
The first step is to enable your computer's “gaming mode”, which will help prioritize resources towards running games smoothly. It can be enabled through the Task Manager or Control Panel depending on your version of Windows.
2. Disable Notifications
We all know how annoying notifications can be while playing a game – they not only break our concentration but also slow down our PCs significantly. To prevent this from happening, make sure that all notifications are disabled before starting a game session by accessing their respective settings menus or disabling them entirely via the System Tray's Notification Settings option.
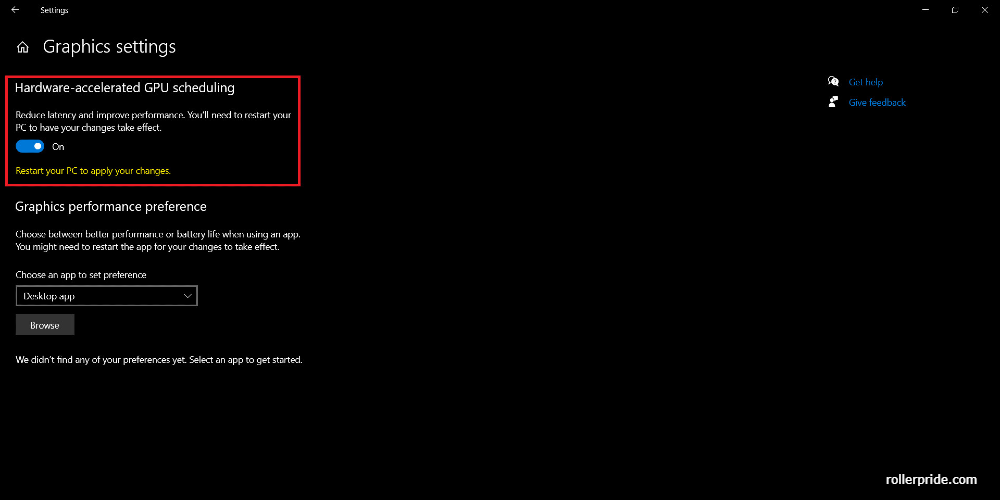
3. Turn on Hardware-Accelerated GPU Scheduling
This feature helps improve performance by allowing applications to take direct access to graphics processing units (GPU). It can easily be enabled using Nvidia Control Panel or AMD Radeon software, depending on which type of graphic card is installed in your system.
4. Adjust For Best Performance
This one is quite self-explanatory - adjust all visual effects and animations in the display settings menu so that they perform best with your current hardware configuration while still providing an immersive experience during gaming sessions (elements such as shadows or transparency should be turned off if not necessary). Additionally, make sure that there are no other applications running in the background apart from those related directly to gaming activities like Steam/Origin, etc., as these could potentially cause conflicts and lag issues due to overloading of RAM memory space and processor cycles allocation, respectively.
5. Turn Off Enhanced Pointer Precision
This feature gives smoother control over mouse movement while navigating around windows. However, it has been known to interfere with certain games or cause input lag when activated during the fullscreen mode. Therefore it should always remain disabled unless absolutely necessary for specific cases where precision movement is required outside game contexts (i.e., graphic design tasks, etc.).
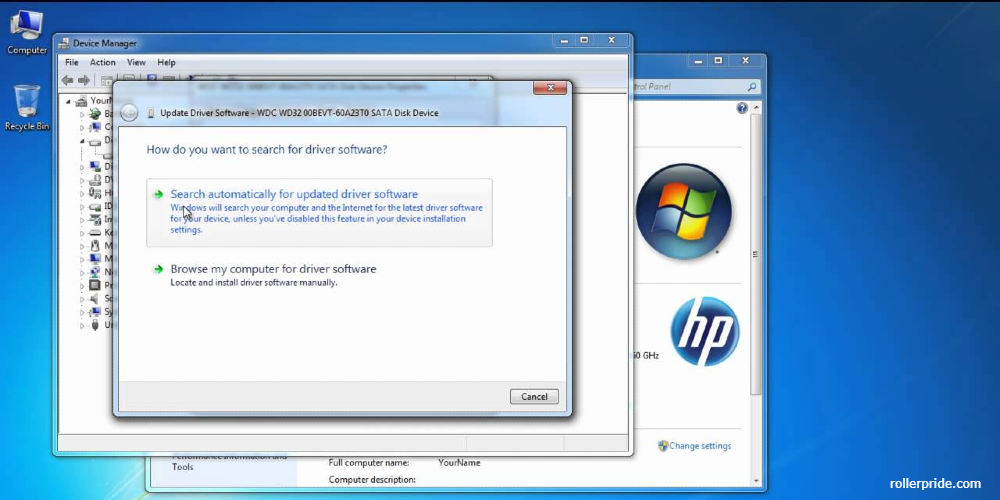
6. Update Your Drivers
Outdated drivers often don't recognize new software updates leading us into trouble when trying to play newer games as compatibility issues may arise; thus, updating them regularly will ensure smooth experiences regardless of what title we're trying out at any given time frame period - go ahead and check manufacturer websites for latest releases regarding device drivers installation packages either manually (if needed) before proceeding forward accordingly afterward once done properly.
7. Optimize In-Game Settings
Now that we have our OS took care of and our drivers updated, let’s look at optimizing in-game settings. Depending on what game you're playing, this could involve tweaking graphical settings (such as resolution), turning off visual effects (such as motion blur), or changing certain keybindings (such as reloading keys). Every game will be different here, but if you spend some time experimenting with different options, then you should eventually find something that works best for both visuals AND performance.
8. Turn On Nvidia G-Sync
If available within our system configuration specs, then enabling G-Sync will provide us with better frame rates compared to standard Vsync options as well an overall smoother gameplay experience due to its dynamic refresh rate synchronization capabilities; make sure, though, that both driver versions support such technology additionality beforehand otherwise unexpected results might occur instead afterward following activation process completion work stage sequence accordingly later onwards too.
9. Set Your Monitor Refresh Rate
Make sure that the monitor refresh rate matches up with what's being outputted by our graphics card configuration setup. Usually, 60Hz would do just fine, yet if higher values are supported, then feel free to increase the frequency up until maximum specifications limits tolerance are reached without problems arising later on consequentially instead mean while place too.
10. Start-Up Settings
Accessing the start-up settings menu allows us to set priority levels between different programs being loaded upon bootup time sequence order execution stages, thereby reducing chances of having any unnecessary programs taking away valuable resources from actual gaming activities themselves each time happens again whenever rebooting machine restarts occurs next time after previous shutdown event prior happened previously.
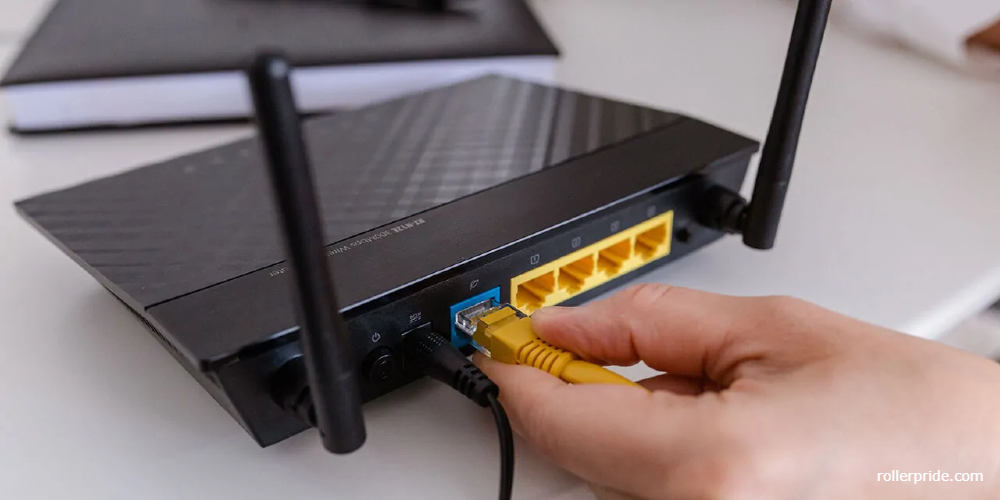
11. Use Ethernet Rather Than Wi-Fi
Latency values tend to fluctuate heavily when using wireless connection types, making online multiplayer titles unplayable unless minimum quality standards are met and achieved successfully accomplished. Otherwise, suffering lags and stuttering amidst course playing sessions takes furthermore along the journey too.
12. Enable High-Performance Mode
Windows has a special power profile called “High-Performance mode”, which makes sure that all available resources are being used by games instead of background processes or other applications running in the background. To enable this setting go into Control Panel > Power Options > Additional Plan Settings > Change Advanced Power Settings > Processor Power Management > Maximum Processor State; set this value to 100%. This will help ensure that maximum resources are being dedicated towards gaming rather than other things going on in the background, like anti-virus scans, etc.
13. Enable Performance Enhancements
There are several features within Windows designed specifically with gamers in mind, such as task scheduler optimization (which helps reduce micro stutter) and adaptive brightness control (which prevents overexposure). You can access these options by going into Control Panel > All Control Panel Items > System Properties> Advanced tab>Performance section>Settings button; here, you'll find several settings which can be turned on/off depending on what type of experience/performance boost it gives you when enabled/disabled respectively. So experiment around until everything feels just right!
14. Close Unnecessary Processes
Before we start any intense gaming sessions, it's always important to make sure no unnecessary programs/processes are running in the background, eating up precious RAM & CPU cycles that games themselves would otherwise use! An easy way around this is using Task Manager within Windows; simply open up task manager before starting any game & end tasks like browsers & music players, etc. Just remember, though – never end critical system processes like Explorer or svchost unless instructed otherwise!
And there we have it – simple steps guaranteed to give any gamer's setup an extra edge when playing their favorite titles! So get optimizing now & good luck fragging away!